Below we will explain how to create a new project i Primavera P6
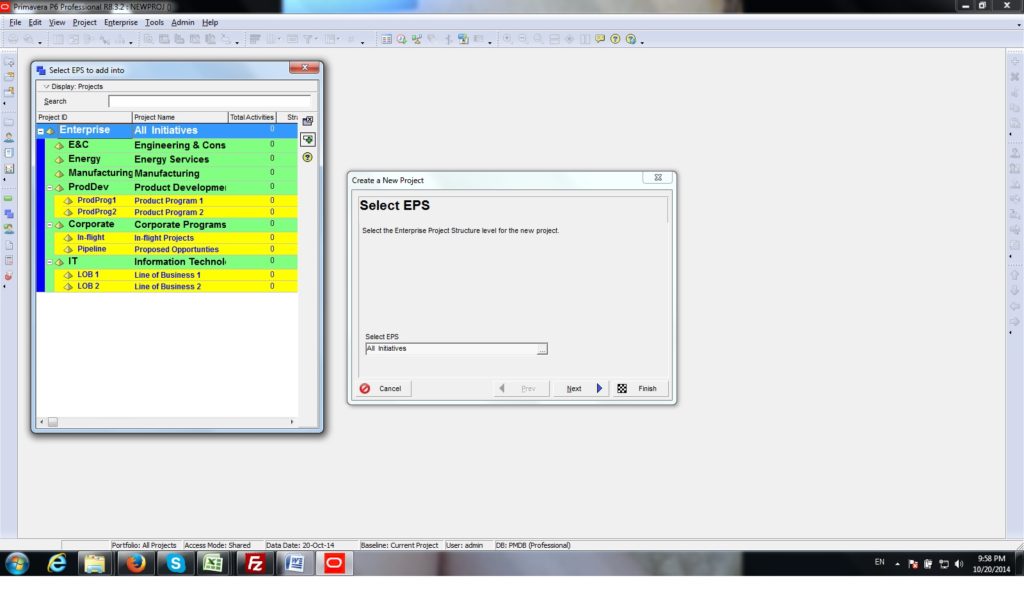
Picture 1: The first thing you do is to select EPS, Enterprise Project Structure. This will determine where your project will reside. This is important in the sense that the resources and rates available for your project as well as the group in which it will reside.
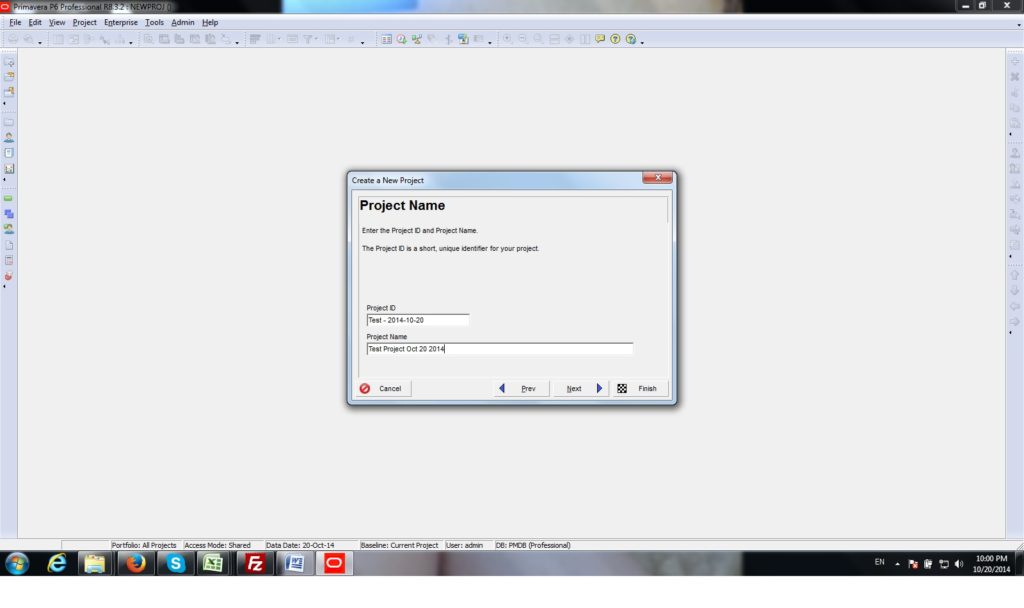
Picture 2: Here you create a Project ID and Project Name
Picture 3: Project Start date is today’s date by default. Choose a different date if you like. Also by default the finish date is blank but you can choose to assign a date. This will determine the schedule calculations

Picture 4: Responsible project manager which should match with the EPS will be selected here

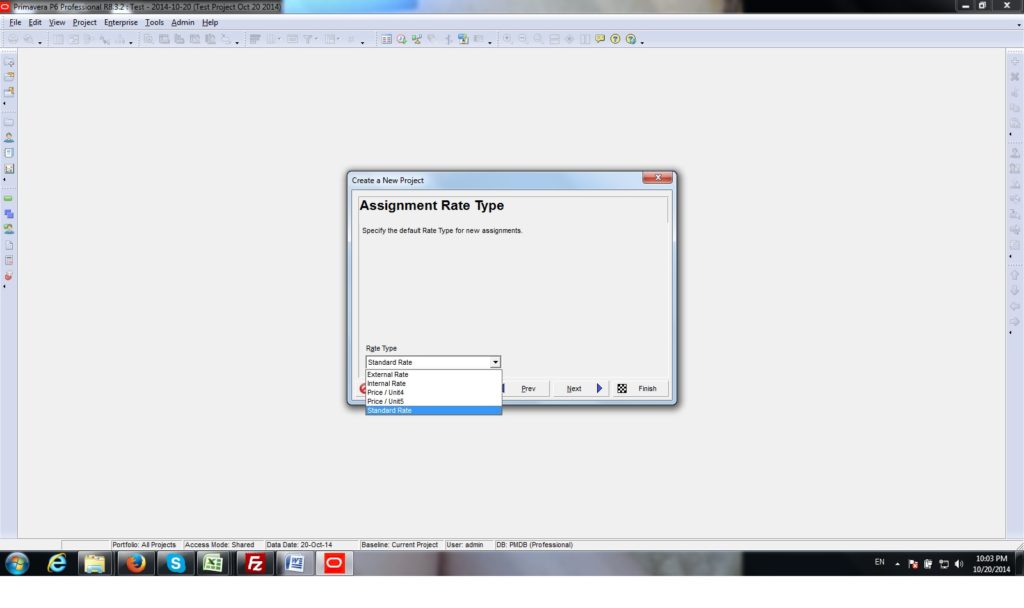
Picture 5: Assignment rate is chosen here.
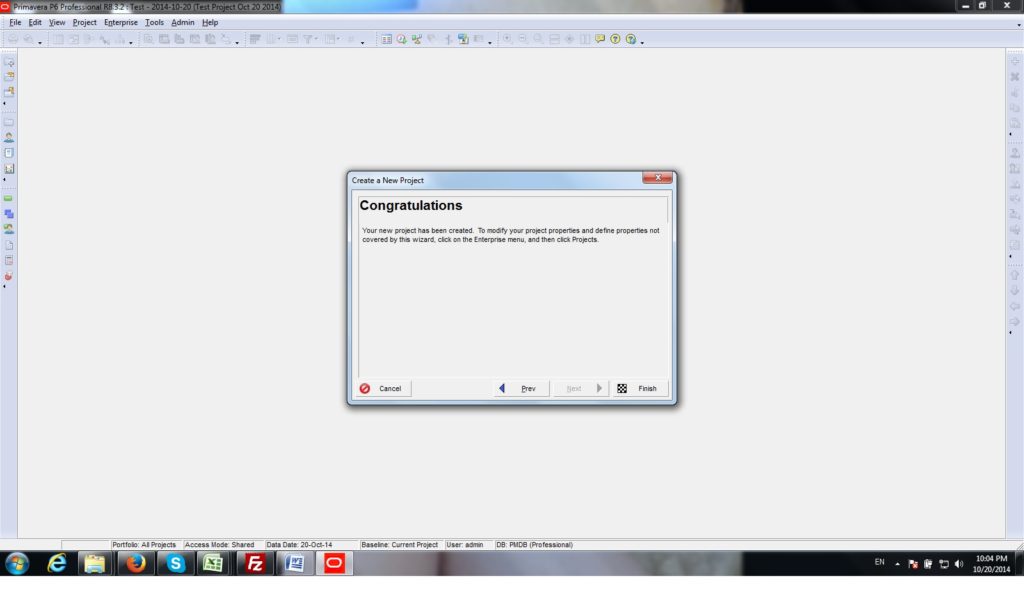
Picture 6: Confirmation that the project has been created
Picture 7: Now you can see your project (marked as light blue here) under EPS

Note: if at any point during project creation you choose to cancel, you will see that the Primavera will delete the so far created portions of the project from database
Creating a new Project on Primavera P6 added by editor on
View all posts by editor →
You must be logged in to post a comment Login